Our services include but are not limited to:
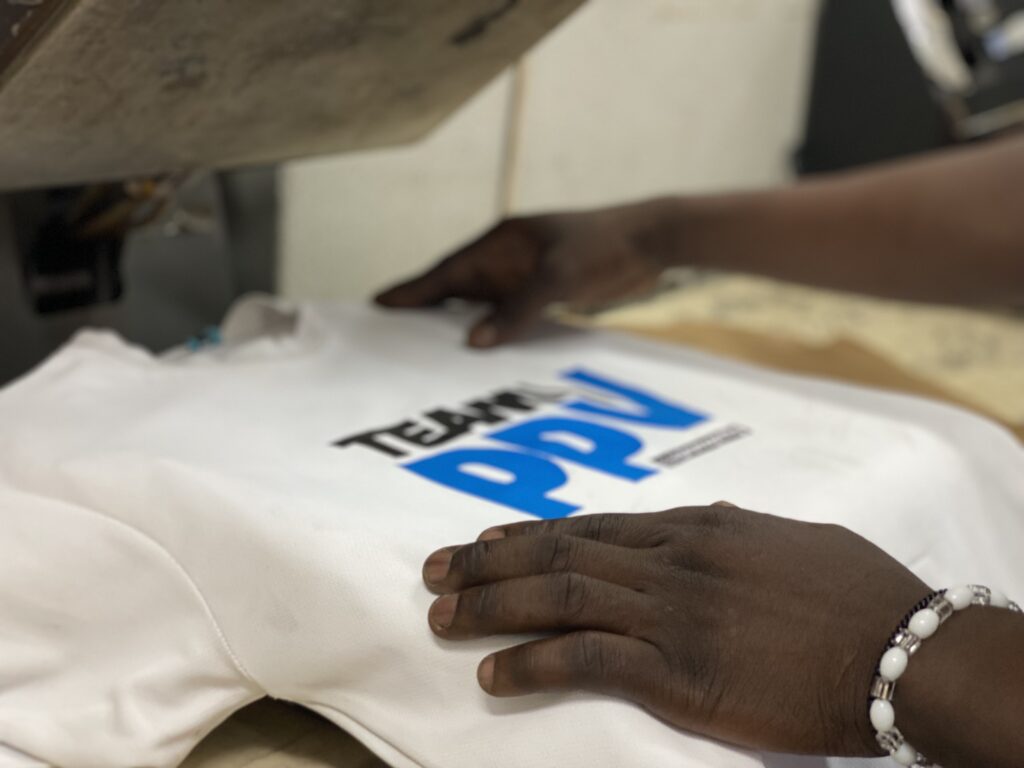
Your digital image is printed onto a heat-activated vinyl surface and once placed into the branding machine, the heat melts the adhesive backing and transfers the logo directly onto your product.
⦁ Pros: Versatile branding method that can be used on a variety of fabrics and materials. Ideal for designs with various colours, intricate designs or small wording.
⦁ Ideal for bags, clothing and headwear.
Steps:
Step 1: Your digital image is carefully printed onto a special vinyl surface with an adhesive backing.
Step 2: Your design is positioned face-down onto your product.
Step 3: Then your product is placed into a heated machine that presses the vinyl directly onto your product. This is where the term ‘Heat Press’ comes from!
Step 4: Heat from the machine melts the adhesive backing from the vinyl, and merges it with the surface of your product, branding it with your logo.
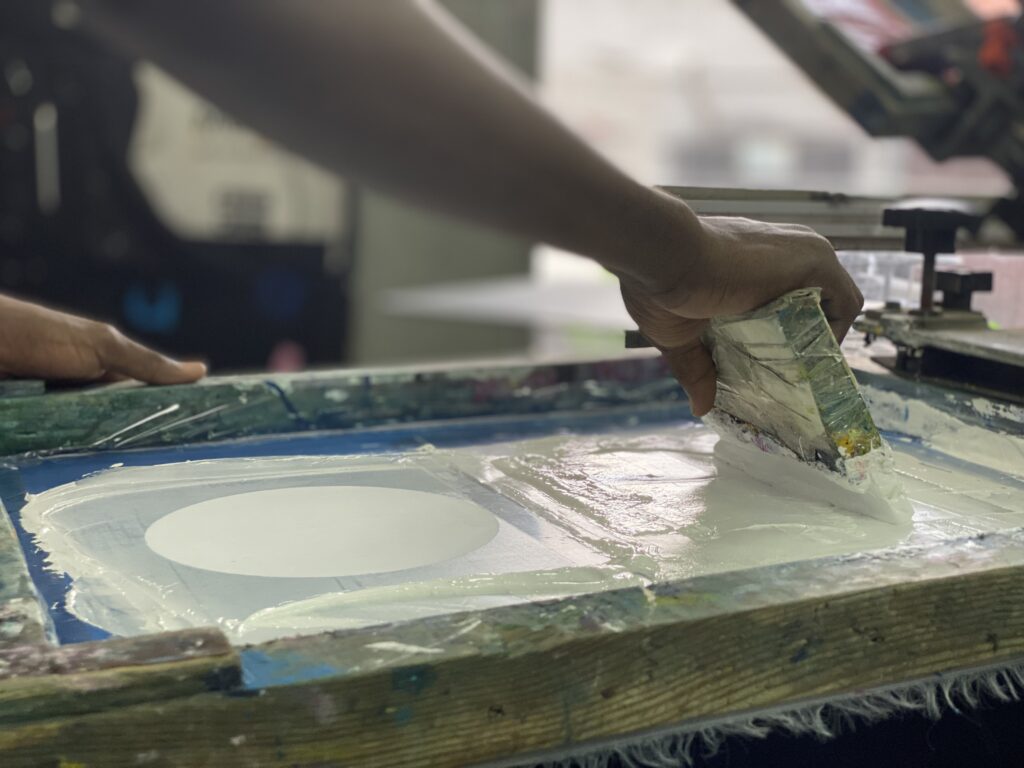
Your logo is exposed onto a mesh screen and any blank areas in the design are coated with an impermeable substance, which means no liquids can pass through, then a squeegee pushes ink through the screen and your items are branded.
⦁ Pros: Cost-effective if you have large quantities to brand, great for large and bold logos and colours are printed one at a time to ensure accuracy. Allows for single or up to 6 multicolour branding.
⦁ Ideal for bags, t-shirts, umbrellas, coolers and other smaller items like notebooks and folders.
Steps:
Step 1: Your logo is exposed onto a mesh screen, this is where the term ‘screen print’ comes from.
Step 2- Special ink is applied to the screen in the shape of your custom design and hardens when exposed to UV light.
Step 3- The screen is then sprayed with water which washes the excess ink away and presses it through the mesh in the shape of your design.
Step 4- Thereafter, the screen gets locked into the station where printing ink is poured onto it.
Step 5- A thin layer of ink is spread onto the screen, which seeps through the logo portion of the mesh and onto your item.
Step 6- The ink is then heat dried, leaving your item branded.
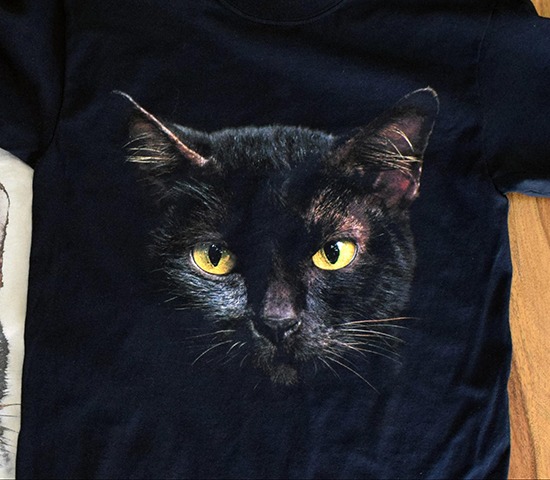
A method whereby a printer directly applies ink onto a garment with inkjet technology.
⦁ An excellent method for branding smaller quantities.
⦁ The better quality the garment, the better the print will look.
⦁ Treating the garment beforehand allows the ink to attach to the fibre for a vibrant result.
⦁ Pros: Requires no screens and minimal space. Only a small amount of ink is required to achieve a lot of detail. No mess.
⦁ Cons: Can be expensive
⦁ Ideal for garments that are ready for Digital Garment Printing. The process of Digital Printing itself can however also be done on drink-ware, as well as on bags.
Steps:
Step 1- The garment is pre-treated with a liquid. This can be done manually or with a machine. It is particularly crucial if the garment is dark.
Step 2- The pre-treatment is then left to dry, either on a hanger or by means of a heat press.
Step 3- Using a specialized program, the artwork design is then prepared. If the garment is dark, an extra layer of white ink is added.
Step 4- The garment is then carefully loaded onto the machine and positioned in place. For the best result, the garment must be completely flat, as any wrinkles could ruin the process.
Step 5- The operator then presses the start button and the printing process takes place.
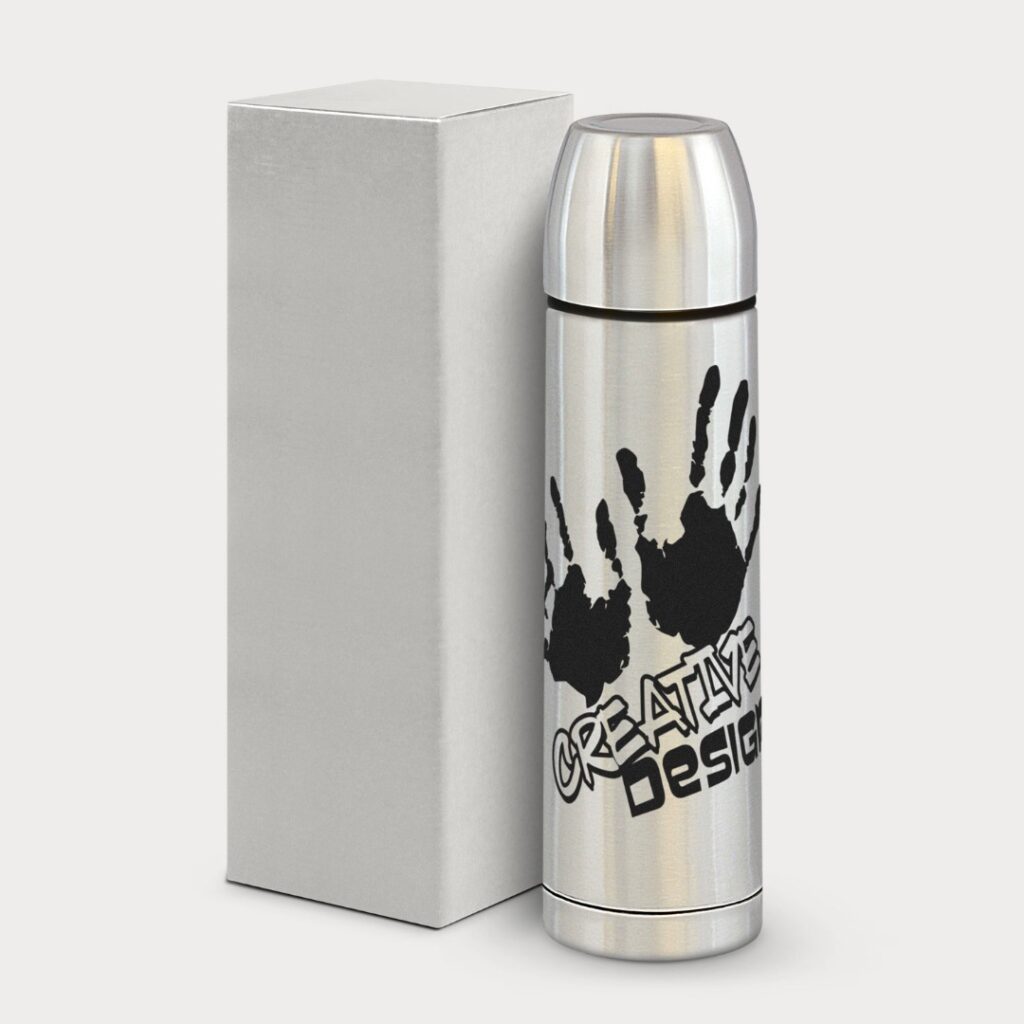
The process of etching your logo into a product by ‘burning’ off the top layer of the products surface to reveal a second layer underneath.
Pros: Creates a subtle yet elegant permanent impression on the product at high speeds and incredible accuracy. Great for logos with minute detail.
Please Note: If the second layer is a different colour, that colour will be exposed when engraving.
⦁ Ideal for awards, stainless steel accessories, flasks, pens and mugs, to name a few.
⦁ Depending on the material of your product, there are three types of lasers used:
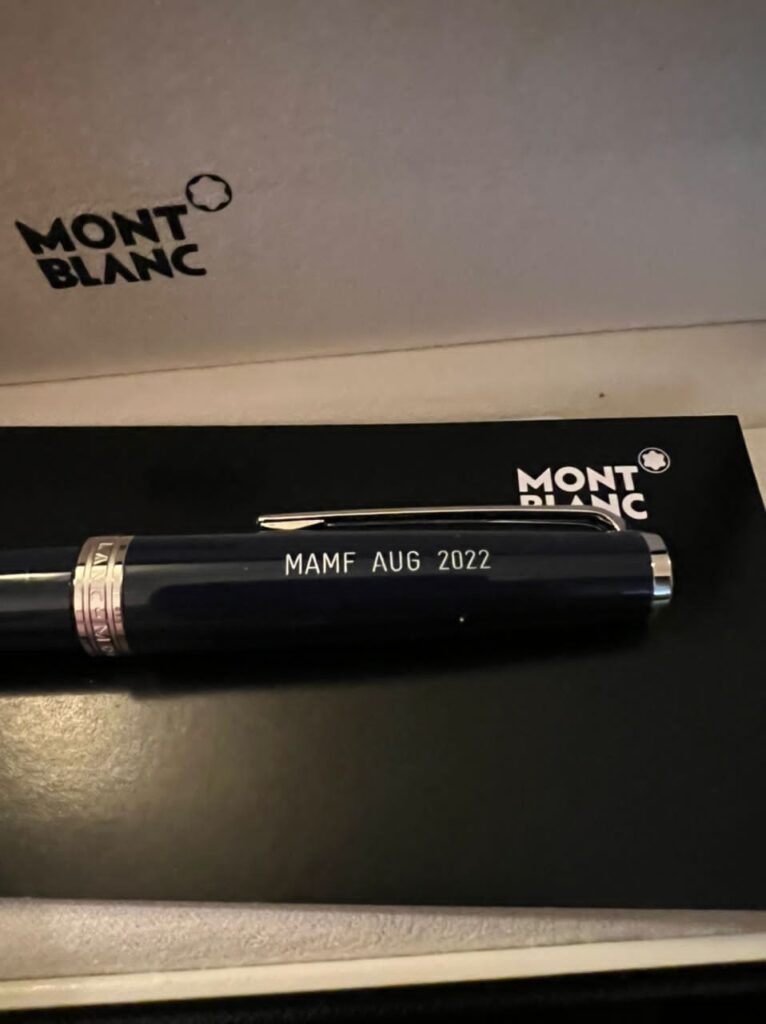
Your logo is burned into your product by removing the first layer and this is done by a CO2 laser.
⦁ Pros: Easy to replicate logos, provides incredible precision, great for logos with a lot of detail and is a permanent and classy way to brand products.
⦁ Ideal for organic material such as glass, leather and wood.
Laser Engraving Steps:
Step 1 – Your design is loaded onto the laser machine in a digital format.
Step 2 – Your product is placed into the machine and positioned in the desired branding location.
Step 3 – The CO2 (gas) laser beam then gets to work, carefully etching your design into the product with great precision by removing the top layer and exposing the layer underneath.
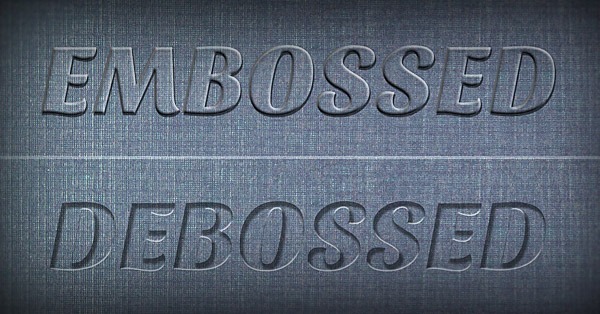
Your logo is pressed onto the product’s surface by using heat and pressure that creates a permanently stamped impression.
Pros: Creates a funky 3D look, which is subtle and classy.
⦁ Ideal for both genuine and imitation (PU) leather products.
⦁ Wondering what the difference is between Embossing and Debossing? Deboss provides a sunken branded design while Emboss provides a raised branded design.
Steps:
Step 1– Your design is carefully moulded on a metal plate.
Step 2– The metal plate is then heated to about 100°C.
Step 3– Your product is placed onto the machine in the desired branding position.
Step 4– As the machine closes, the metal plate that contains your design makes contact with the product and leaves an impression in the shape of your logo.

The process of creating a 3D design with a raised surface on the surface of the product.
Pros: Elevates the quality of the product.
⦁ Ideal for fabrics, leather, metal, paper, plastic and silicone.
⦁ Wondering what the difference is between Embossing and Debossing? Deboss provides a sunken branded design while Emboss provides a raised branded design.
Steps:
Step 1– Your logo is designed on two separate metal plates, one raised and one recessed.
Step 2: The plates are inserted into a press machine to heat them up.
Step 3: Your product is carefully positioned into the press machine between the two plates and then branded by pressing the two metal tools together.
Step 4: As the material of your item is pressed, the raised die forces the material into the recessed die, creating the embossed impression.
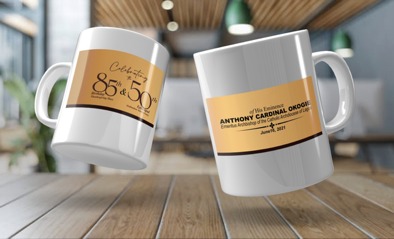
Your logo is digitally printed with full colour onto special transfer paper that’s cut to size and branded onto your product by means of heat.
Pros: Ensures realistic full-colour prints and flexibility of the product is not compromised, unlike which is possible with heat press.
Please Note: Only suitable for white products made from at least 60% polyester and products coated with a polymer.
Steps:
Step 1: Your design is printed onto special transfer paper by means of a digital full-colour printer and is automatically cut to the correct shape.
Step 2: The transfer paper is placed onto your product in the desired branding location.
Step 3: Heat is then applied which causes the ink to move from the paper to the product, therefore branding it with your design.
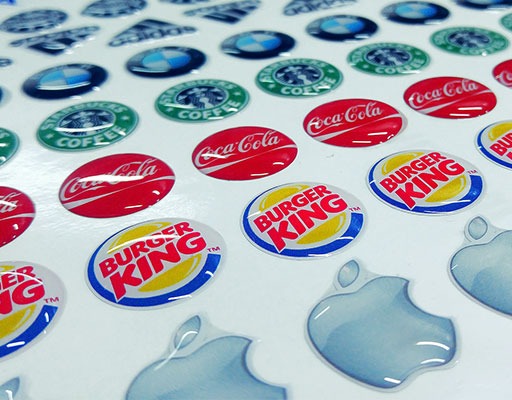
Your logo is digitally printed on adhesive vinyl, cut to shape and size and then coated with a clear polyurethane resin to give it a 3D appearance.
Pros: Perfect for logos with multiple colours that are hard to replicate by other means of branding. Can be used on both smooth and rigid surfaces.
⦁ Ideal for products with a purpose-made recessed plaque.
Steps:
Step 1: Your design is digitally printed in full colour on vinyl material with a strong adhesive backing.
Step 2: The vinyl is cut to shape and size as per the specifications.
Step 3: It is coated with a polyurethane resin to give it its 3D appearance and to also act as a protective layer.
Step 4: Once dried, the finished dome sticker is then applied to your product.
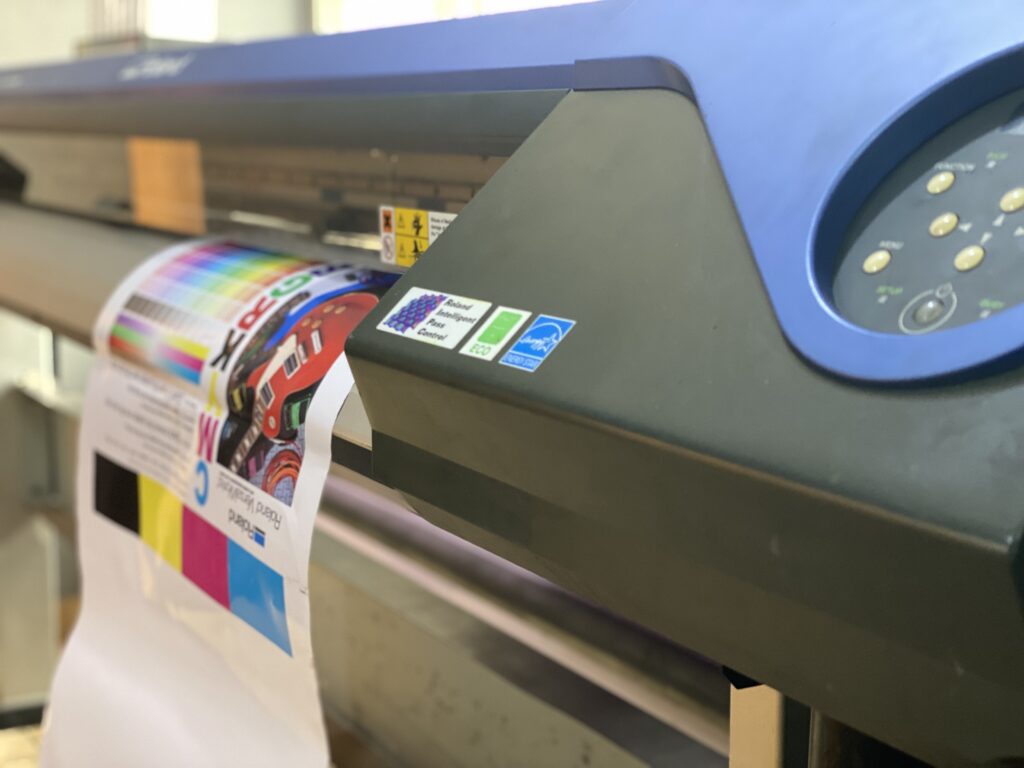
Your logo is digitally printed in full-colour on adhesive vinyl and then cut to almost any shape.
Pros: A cost-effective branding method that’s great for multi-colour designs and is suitable for low or high branding quantities. It’s incredibly resistant to fading or damage and it can be applied to flat or slightly curved surfaces.
⦁ Ideal for branding products or packaging boxes. It comes with either a white or clear background.
Steps:
Step 1: Your design is digitally printed in full-colour onto a special adhesive vinyl sticker.
Step 2: The sticker is cut to shape and applied directly to your product.
A high-definition way to brand your product, done by a digital transfer printer that produces photo-realistic results.
Pros: It will bring any design to life, no matter how complex or multicoloured the logo is.
⦁ Ideal for clothing, bags, drinkware and notebooks.
⦁ Your full-colour digital image is printed on to a special transfer paper, which is then coated, cured, heated and then heat pressed to allow for a transfer of your logo.
⦁ Perfect for complex and multicoloured logos with small text as this high impact branding method really brings designs to life.
⦁ Ideal for promo items, bags etc
Digital Transfer Printing Steps:
Step 1: Your logo is digitally printed in full-colour onto a special transfer paper.
Step 2: The paper is coated in a unique powdered glue and then cured with UV rays.
Step 3: Once cured, the paper is carefully positioned on your product in the desired branding position and inserted into the heat press machine.
Step 4: The heat from the heat press allows your logo to be directly transferred onto the fabric.
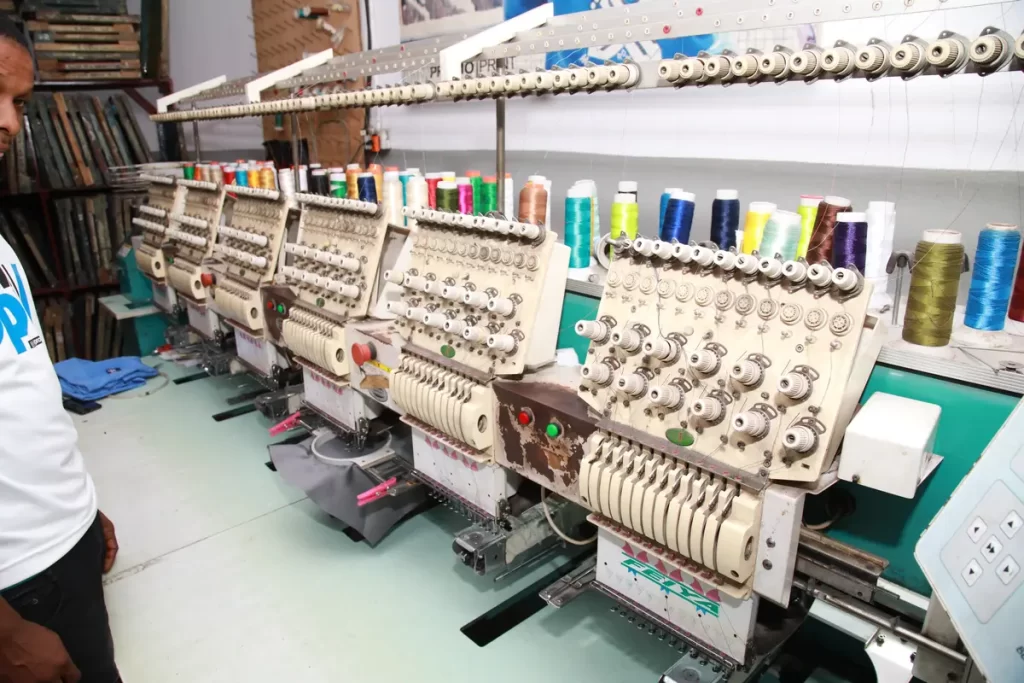
It is the art of decorating fabric with designs with strands of thread. In the case of branding, it is done by computers that read digital formats of your design and then recreating it directly onto your product.
Pros: A classic decoration technique that creates a high-value look. Can be done for both single and multi-colour logos. Is suitable for branding of both flat and curved surfaces.
⦁ Ideal for any type of clothing and headwear items, like shirts or caps, as well as other textile gifts like bags.
Steps:
Step 1: Your design is loaded onto the computer in a digital format.
Step 2: The computer then reads the digitized embroidery file and the embroidery machines automatically recreate the design.
Step 3: Your item is carefully positioned onto the machine in the desired branding location.
Step 4: The machine then gets to work, branding your product one colour thread at a time to create a stitched pattern of your logo.
Step 5: Once the embroidery machine has completed its job, your product is removed.
Step 6: Any stray strands of thread are clipped and your branded product is ready.
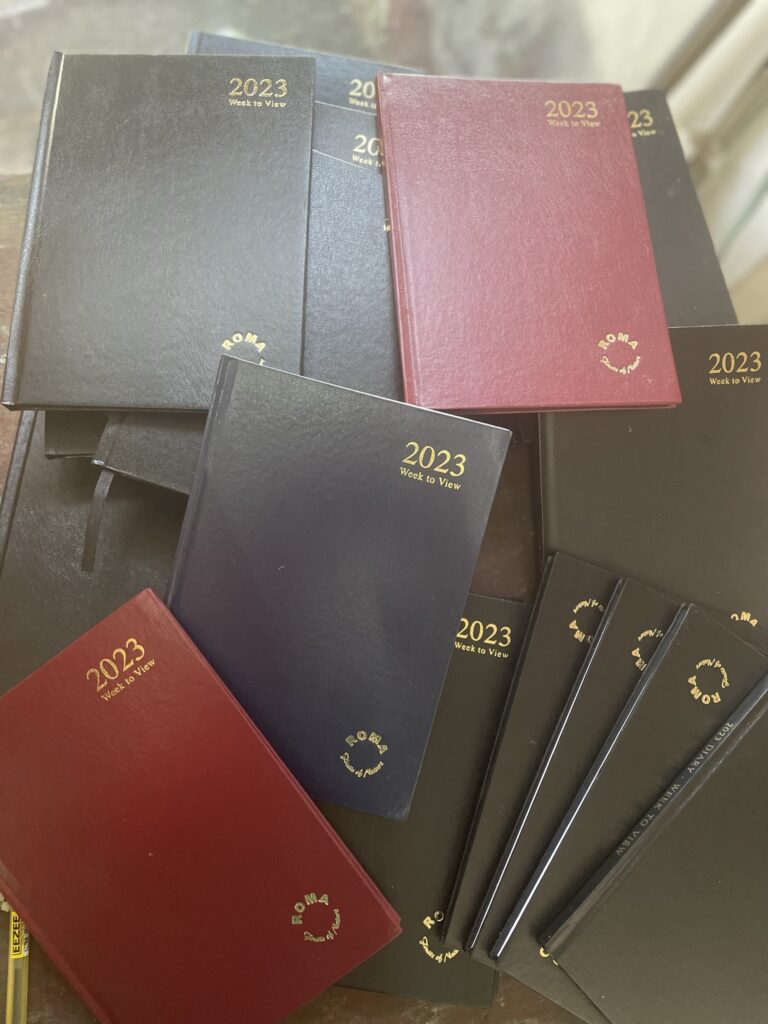
Similar to debossing in the sense that it creates a sunken imprint by means of heated metal plates, except a thin sheet of foil is pressed into the product to provide colour.
Pros: Creates a superior impression with exceptional quality and adds an elegant shiny finish.
Please Note: Foils are usually available in blue, copper, gold, green, light blue, orange, red, silver and yellow.
⦁ Ideal for both genuine and imitation leather and PU products.
Steps:
Step 1: Your design is carefully moulded on a metal plate and heated up to about 100°C.
Step 2: Your product is placed in the branding machine, along with a thin sheet of foil, in your preferred colour, that is placed between the metal branding plate and your product.
Step 3: The machine is pressed closed and the heat causes the foil to bond to the surface of the product, giving your branded product a shiny metallic finish.
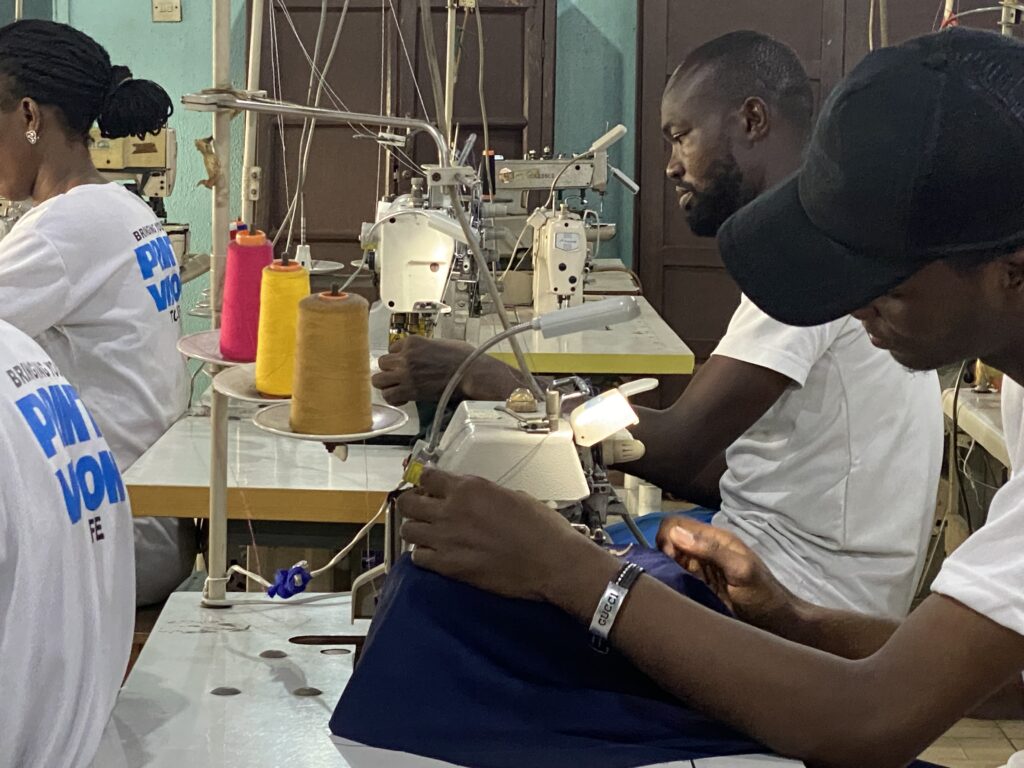
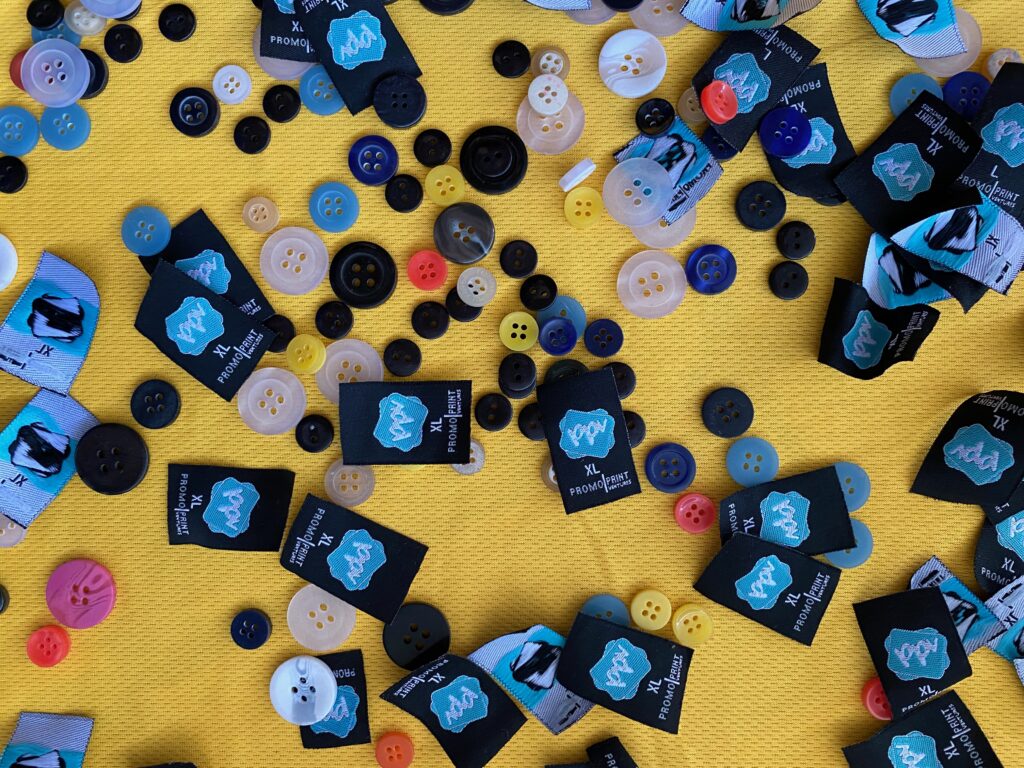
We produce high quality tshirts, polos, uniforms, caps, bags etc to satisfy our clients requirements and colour expectations. Our team will handle the patterns and grading, samples, tech packs, source fabric, or accept owners fabric and produce to a high standard. We have all the needed machines for a quality output that allows a quick and efficient turn around time.